Directions for a Permanent Root
|
Tools\Materials\Requirements Soft Head Good light (do NOT attempt this in a dim place!) Oil and residue cutting soap (like shampoo) for cleaning head Sharp, thin bladed knife for trimming flash (optional) Sharp,fat needle for punching holes Thin doll needle for the actual rooting Chalk, water color or art pencil for hole placement or\and (re)drawing hairline Sharp,fat needle for implanting hair Wood block for pressing needle thought head Strong pliers for pulling needle through holes Hair (duh) Scissors for cutting hair Small clips for holding hair out of the way |
|
|
1. Attain ALL tools\materials\requirements 2. Read ALL steps first, these ARE NOT read-as-you-go instructions! |
|
|
3. Wash Head If you’re going to paint, or glue, the head it needs to be washed a. Fill bathroom sink, or large bowl, about half way with hot water b. Add soap until sudsy c. Drop in head d. Make sure head fills with water e. Swish head around for at least thirty seconds f. Drain sink\empty bowl g. Rinse sink or bowl h. Rinse head i. Drain head j. Dry head |
Cloth Head |
|
4. Trim the Flash and Seem Lines a. Hold blade facing away from you, perpendicular to flash b. In a steady, smooth motion, push head backward (rotate head, not knife) c. Go slowly, soft heads cut very easily (DO NOT squeeze head!) d. Continue until desired trimness is achieved |
Cloth Head |
|
5. Draw the Hairline (The head used in this tutorial has a premolded hairline.) a. Roughly sketch desired hair line b. Check symmetry c. Make necessary\desired adjustments d. Darken final hairline |
Cloth Head |
|
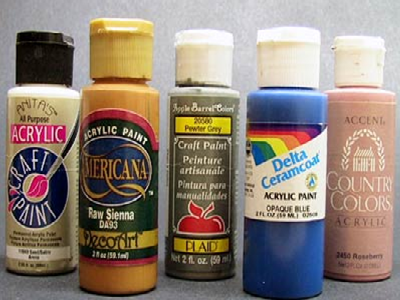
6. Paint if desired |
|
|
7. Mark Hole Placement a. Draw part line(s) b. Draw pattern for inner plug array c. Dot out individual plug holes |
Cloth Head |
|
8. Punch Holes Starting with close together holes: a. Poke sharp end of the needle into the head until it sticks b. Drive with presser block (do NOT use your finger nails!) c. Grab with pliers d. Pull out through neck e. Repeat |
Cloth Head |
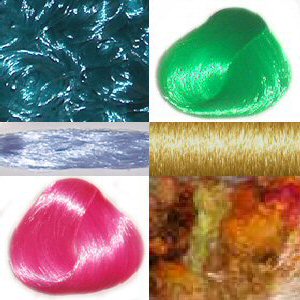
| 9. Select Hair |
|
|
10. Assemble Plugs a. Determine desired total rooted fatness (Barbie©s have about four times too much hair) b. Determine desired\necessary strands per plug (I use ten, folded count, per plug on a standard Barbie© size head) c. Either Count out each plug as you root it Or Count out all plugs before you start d. Place within easy and immediate access |
Cloth Head |
|
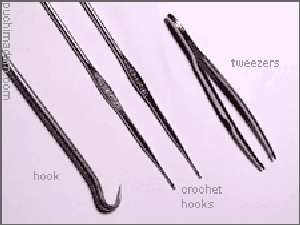
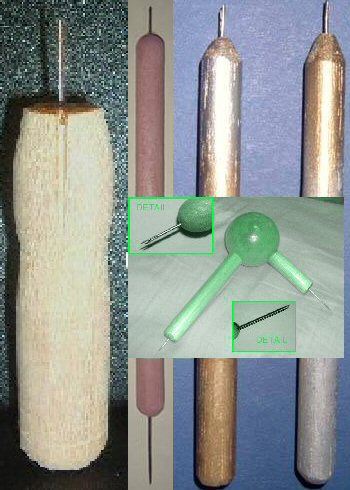
11. Choose Rooting Methods Any method can be used with this project Chain Stitch Method Puchi Collective, Locked-Loop-Technique Root Tool (Some brands are double-ended with a punching needle, like the center one and the green one, eliminating the need for a needle and press block set) Needle and Tread kNot |
|
|
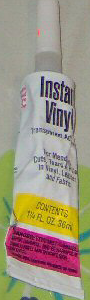
12. Glue |
|
|
13. Thatch |
Cloth Head |
|
14. Set |
Cloth Head |
|
15. Style |
Cloth Head |
 Home Doll Home